Open https://portal.office.com/account/.
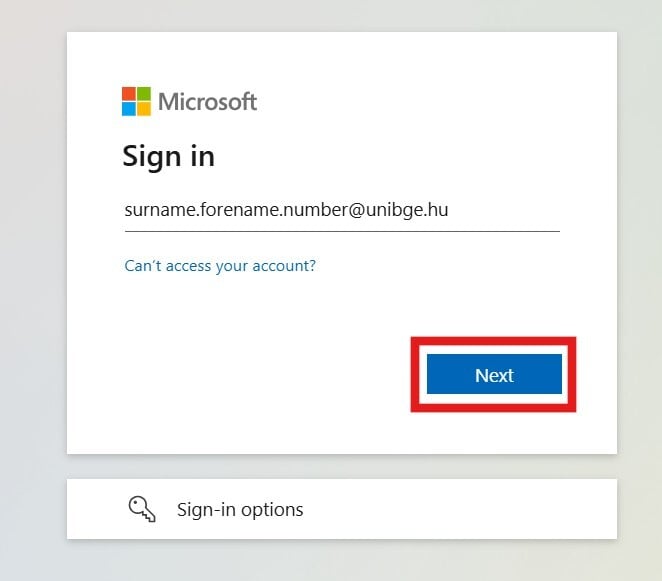
Enter the university email address, then click Next.
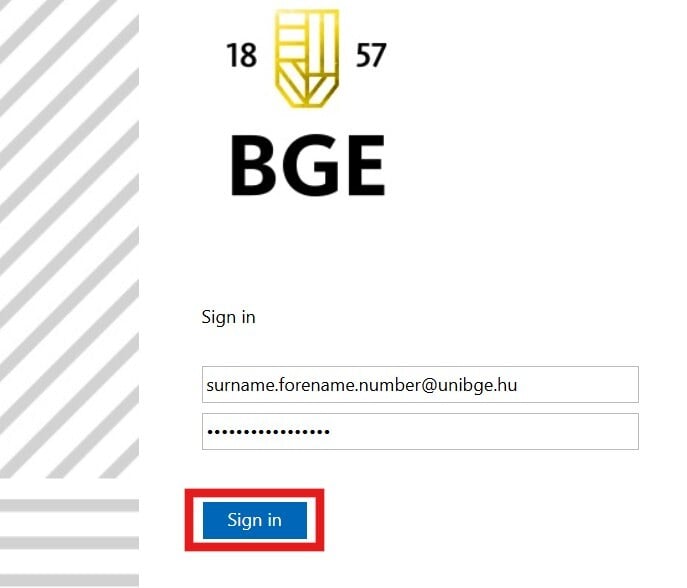
Enter the account password, then click Sign in. Two-step verification (authenticator app or SMS) may also be required.
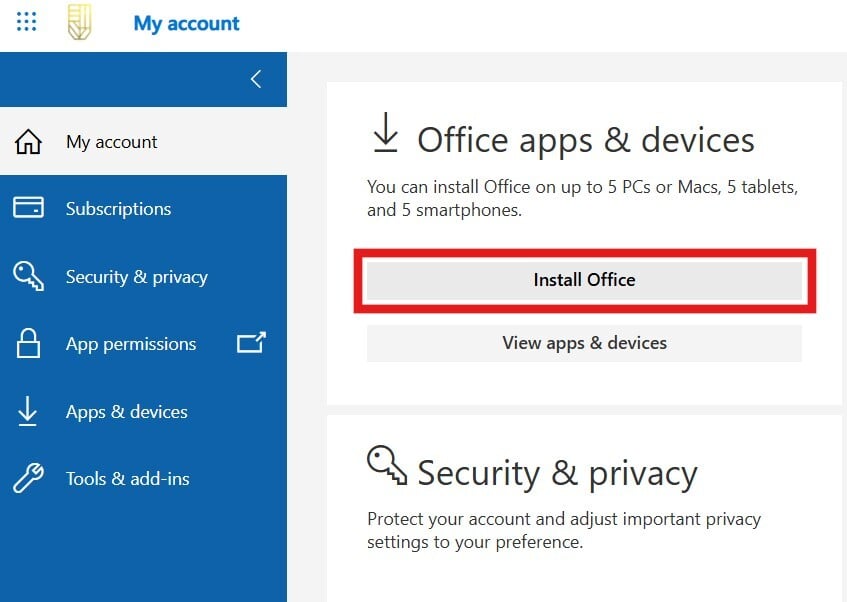
After successfully signing in, go to the Office apps & devices section and click Install Office.
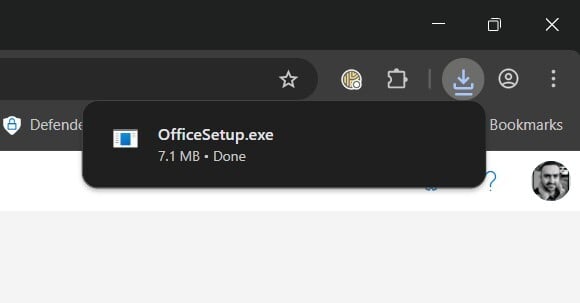
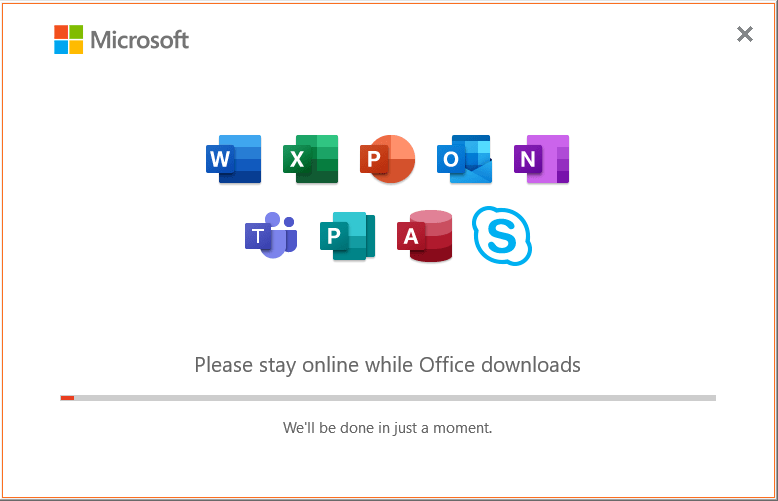
If prompted, allow the download to proceed.
The download will start automatically. By default, the file will be saved in the Downloads folder, but a different location can be selected.
Locate the OfficeSetup.exe file in File Explorer and double-click it to start the installation.
If a prompt appears, select Yes to allow the installation.
Wait until the installation is complete (this may take a few minutes).
When finished, click Close.
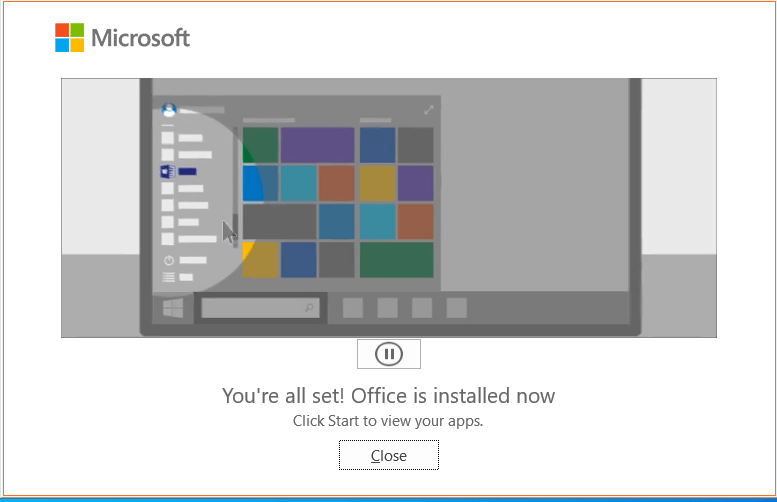
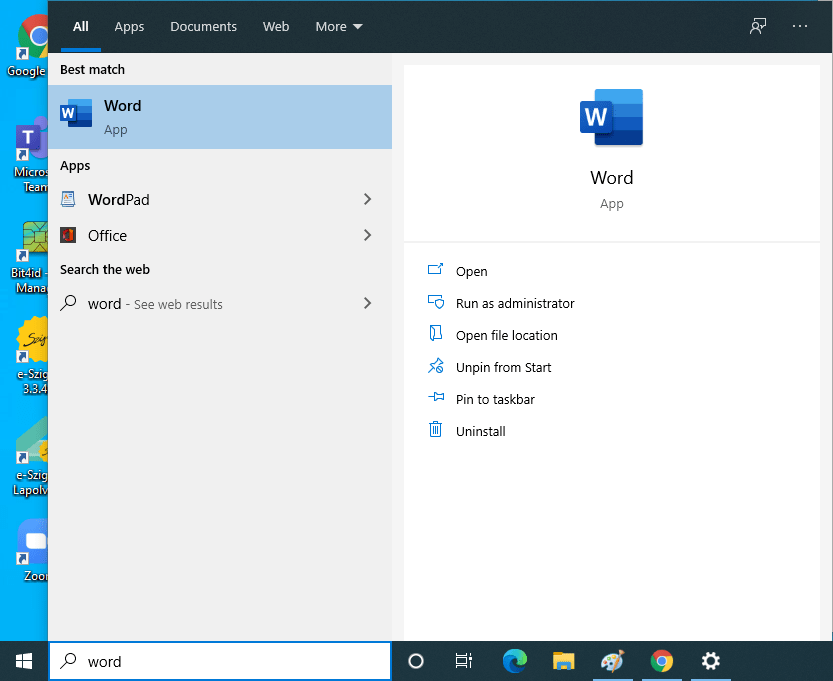
The Office applications (Word, Excel, PowerPoint, etc.) will be available in the Start menu.
Known bugs:
If you receive the following error message when you start the installation, an earlier version of the Office may be installed on your computer. Press the Close button.

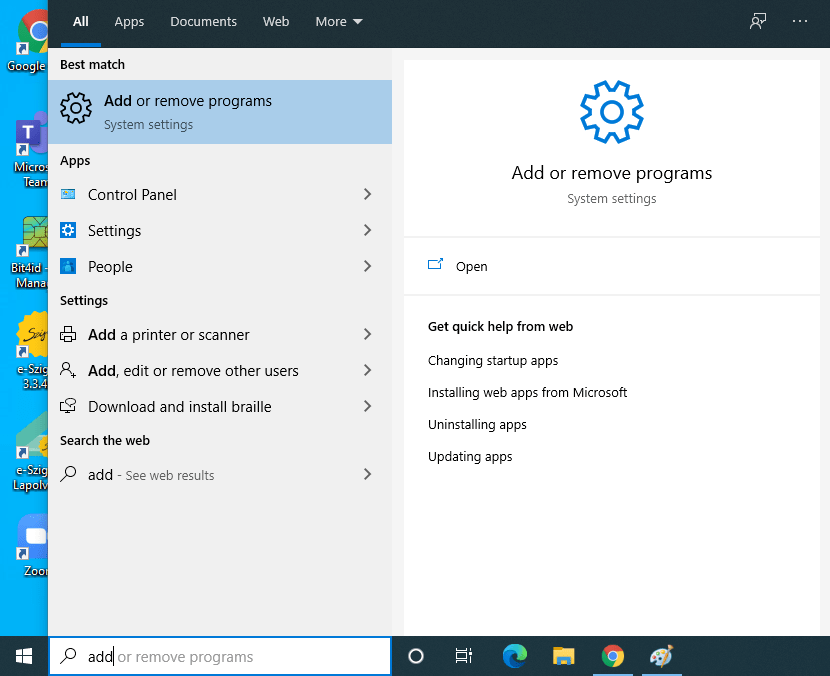
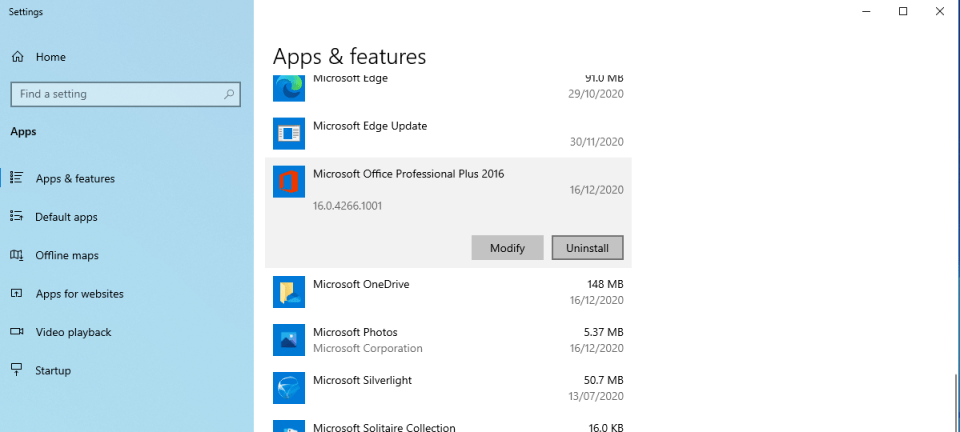
Before installing O365, you can uninstall the old versions as follows. In the search box (which is at the Start menu or as it is showed next to it), type "Add or Remove Programs" and click to start:
Please find the previously installed Microsoft Office application(s) in the window that will open. On the picture below you can see the 2016 version of the Office, but it could be also earlier (eg.: 2010, 2007, etc.). Click the "Uninstall" button and follow the instructions.
If you do not have any more Office programmes on your computer, you can continue with the installation.