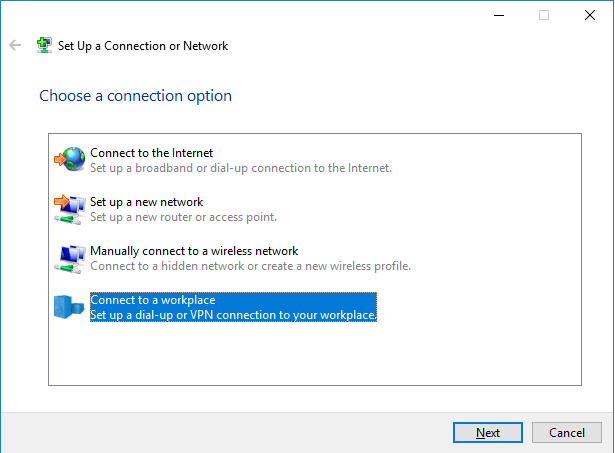
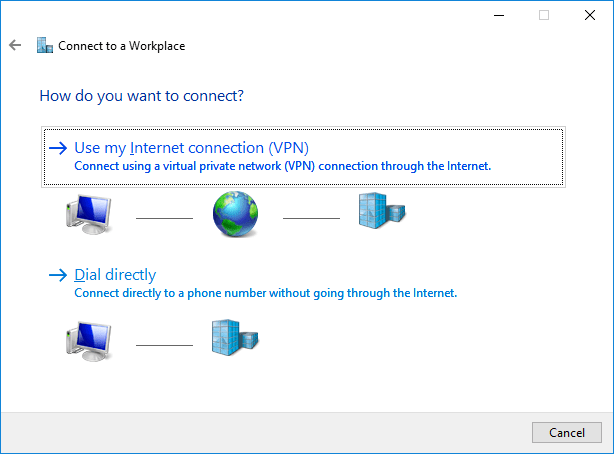
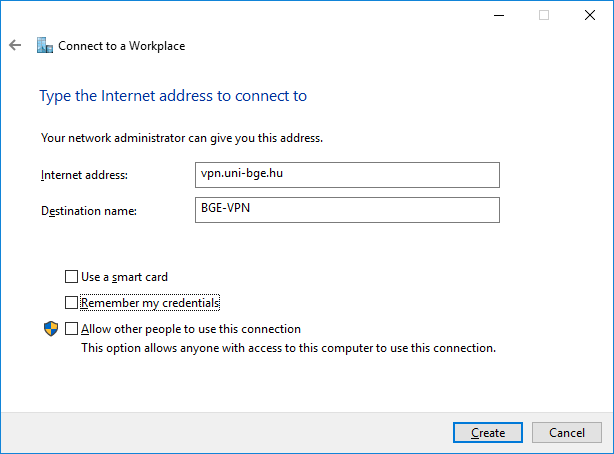
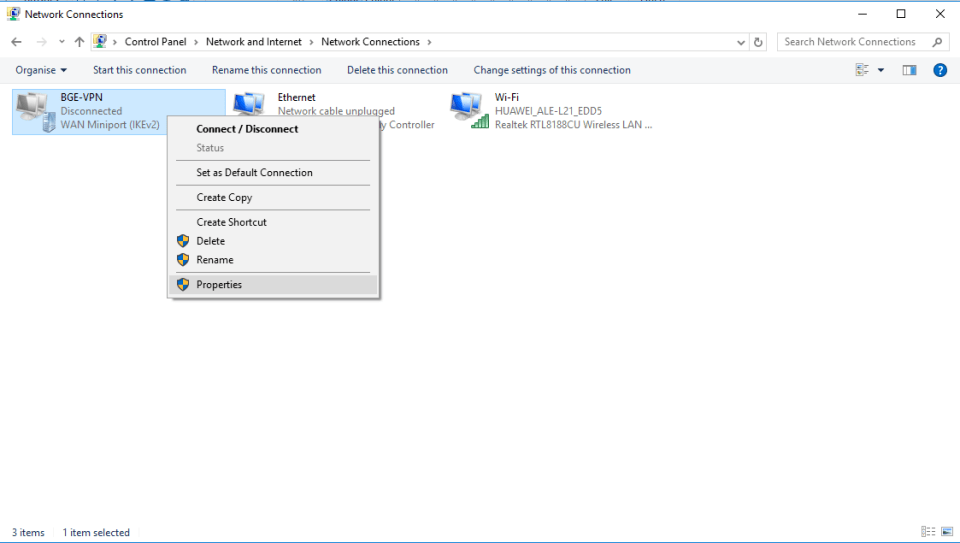
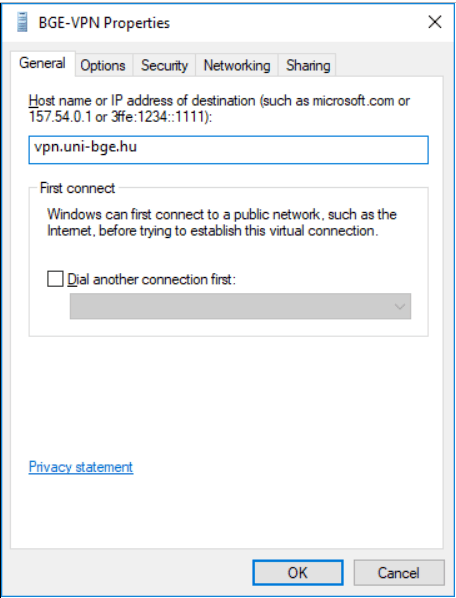
First you will have to register on this website: https://adatbazisok.uni-bge.hu/
After a successful registration follow the guide below:
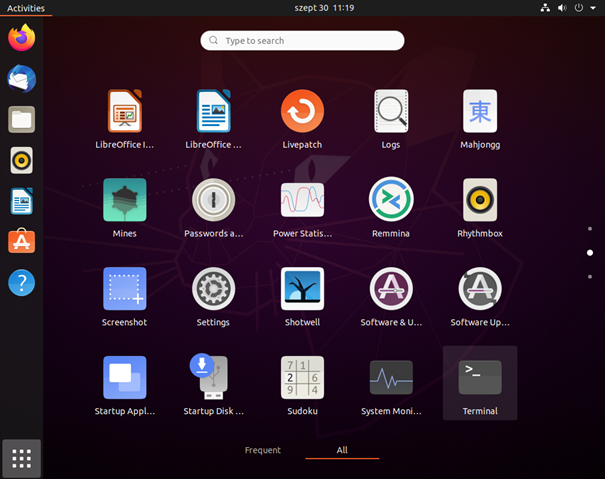
In the bottom left corner left click the „Show Applications” button, then in the pop-up window scroll down and open the „Terminal” app:
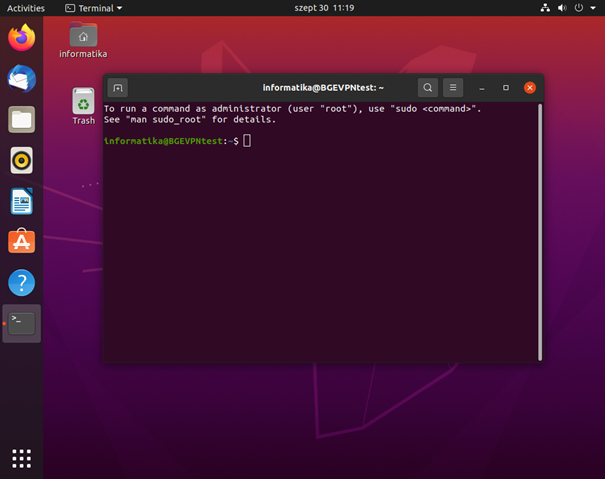
Alternatively, you can open the „Terminal” by pressing the Ctrl + Alt + T keys on your keyboard.
In the opened Terminal write the commands below one-by-one, then press Enter after each command.
sudo apt-get update
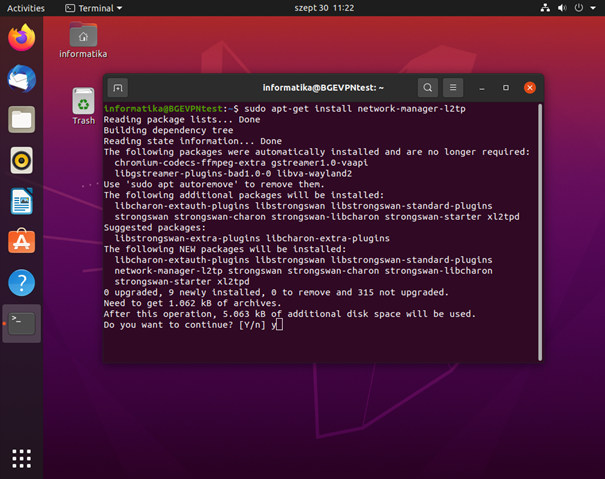
sudo apt-get install network-manager-l2tp
sudo apt-get install network-manager-l2tp-gnome
If it asks somewhere "Do you want to continue? [Y/n]" then type an 'y' letter and press the enter key.
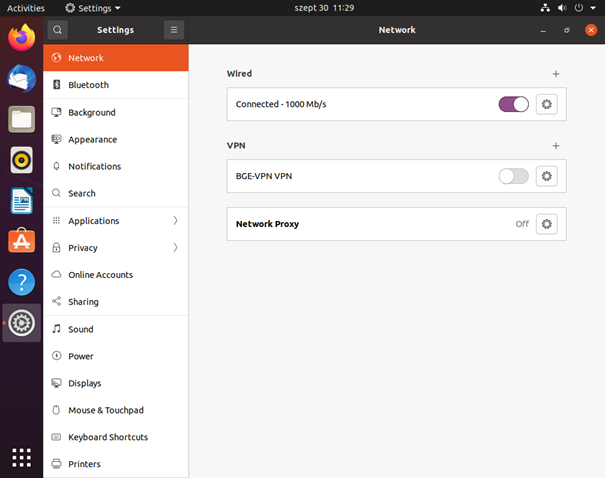
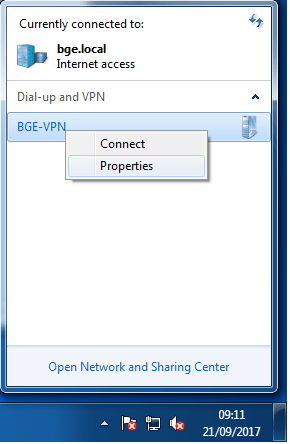
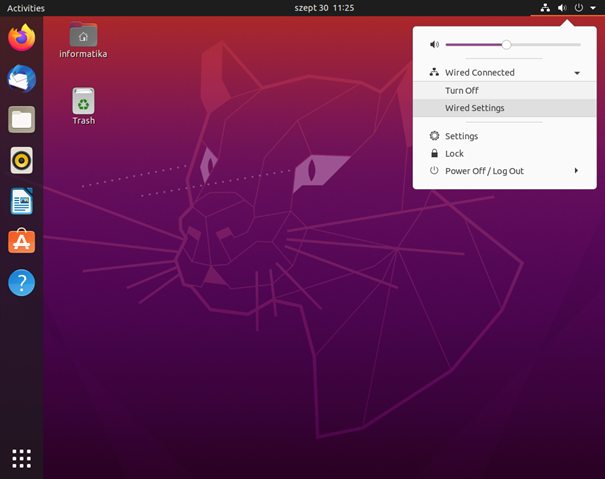
After that left click on the top right of the screen and in the dropdown list click on the "Wired
Settings" button:
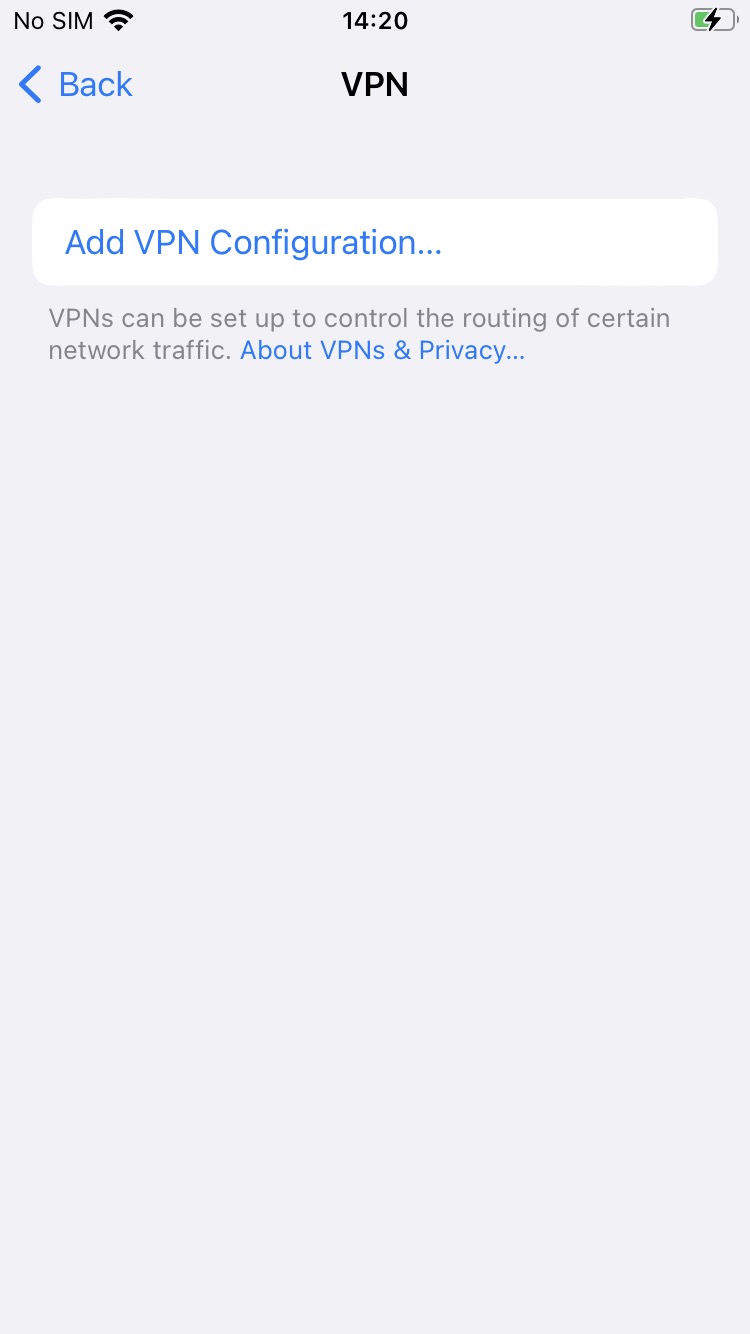
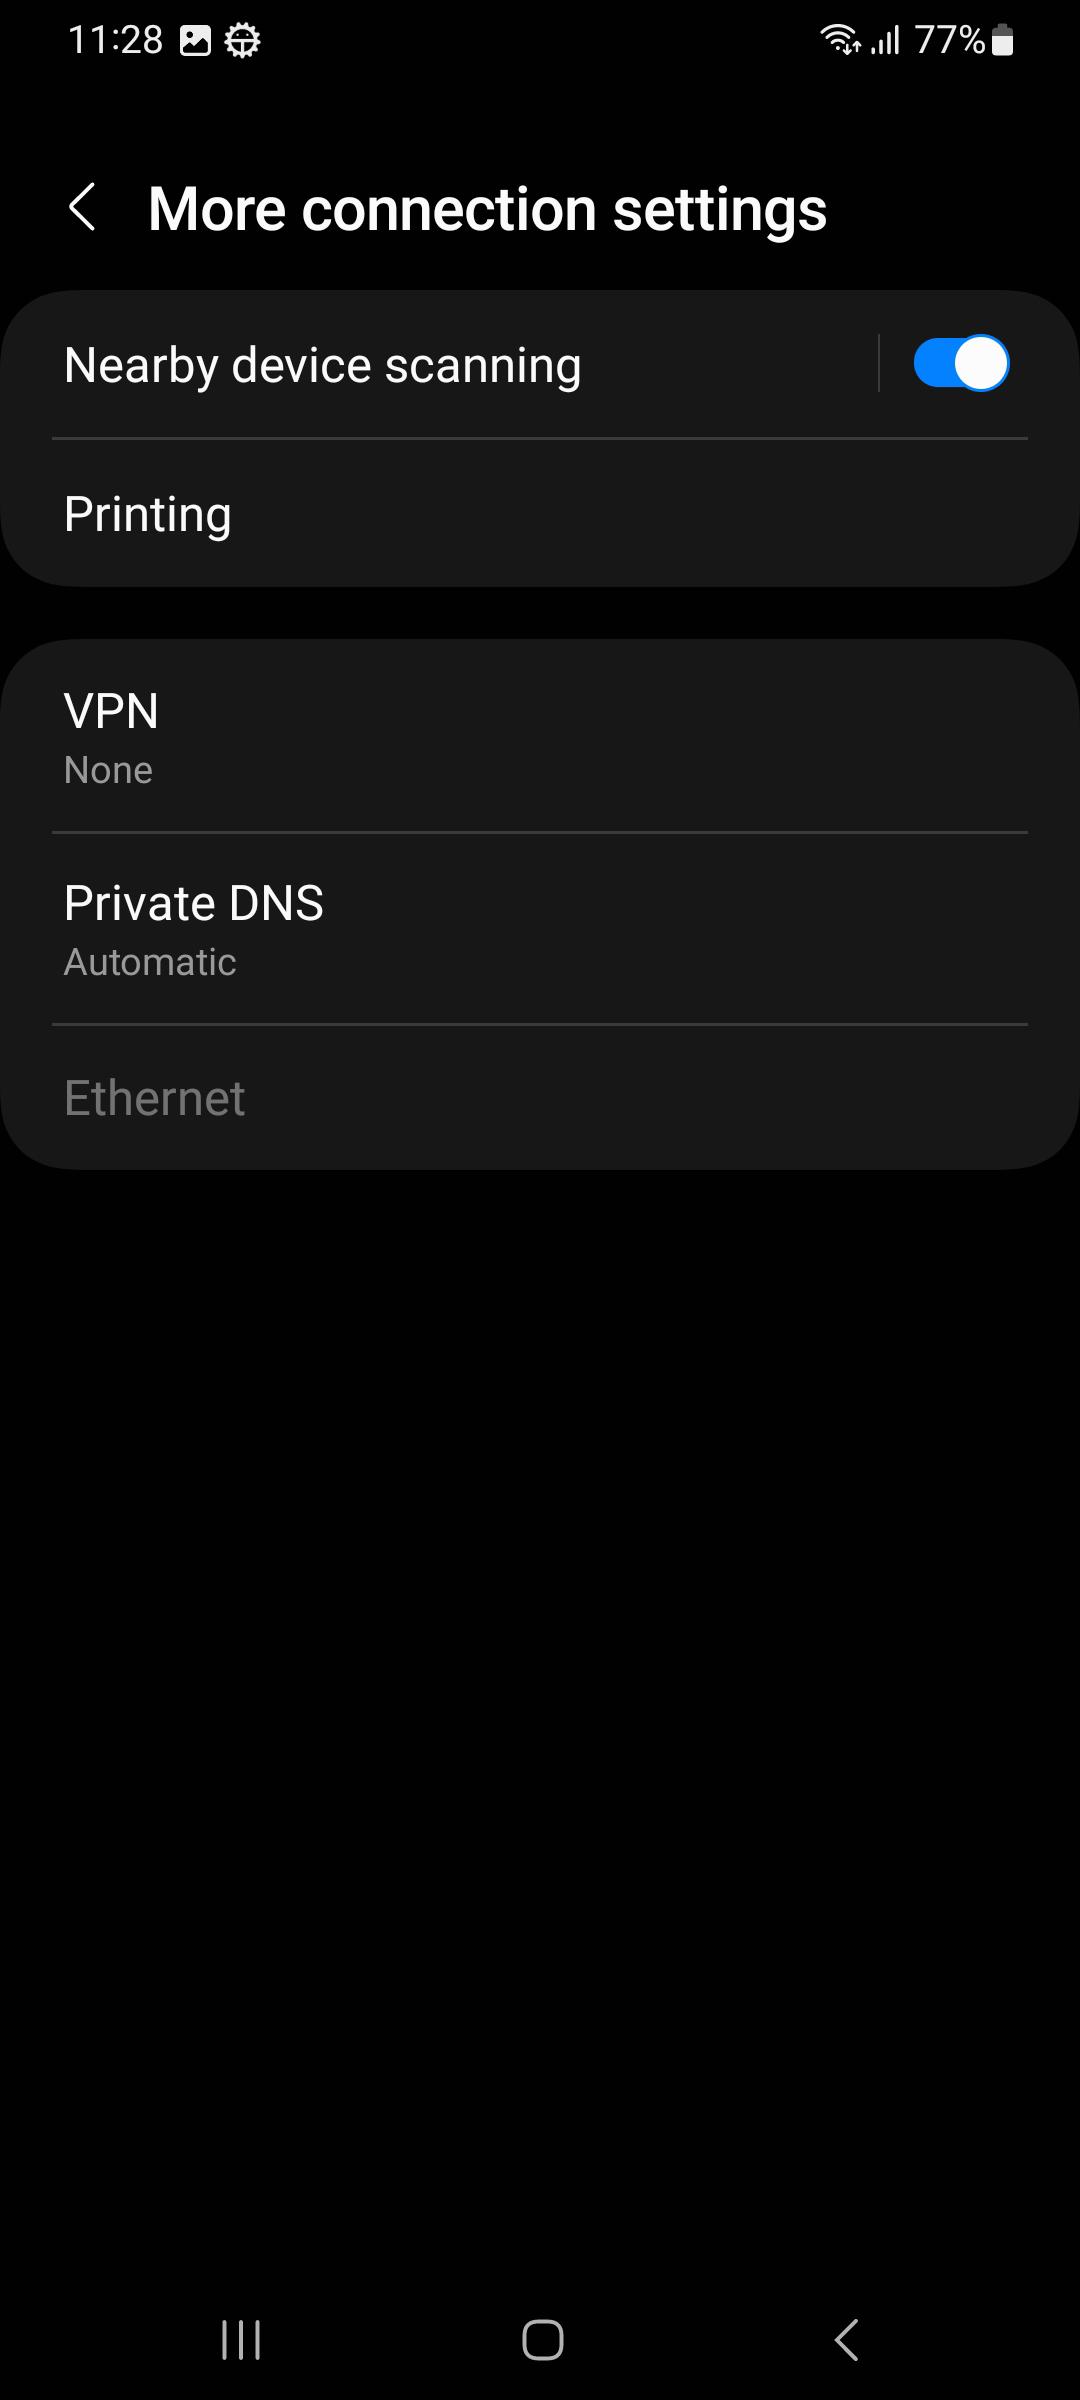
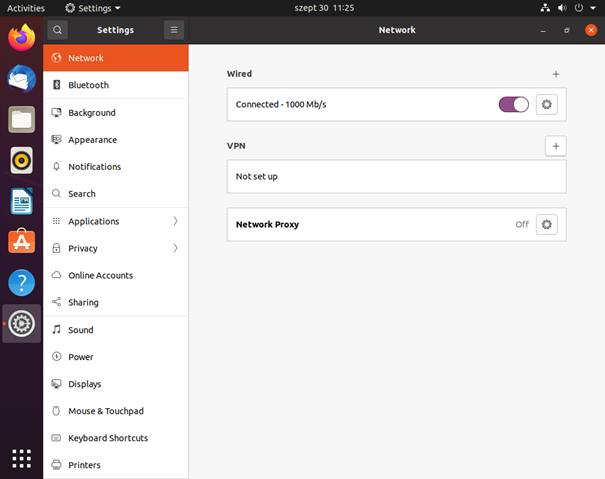
In the pop-up window you can add a new VPN connection by clicking the plus („+”) button on the right of the VPN section.
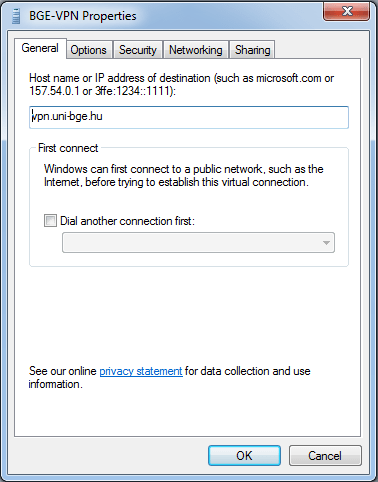
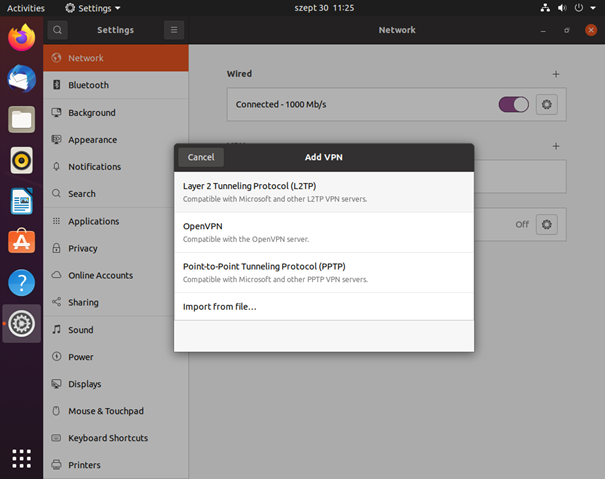
In the pop-up window choose „Layer 2 Tunneling Protocol (L2TP)”. Restart your computer if you can't see this option.
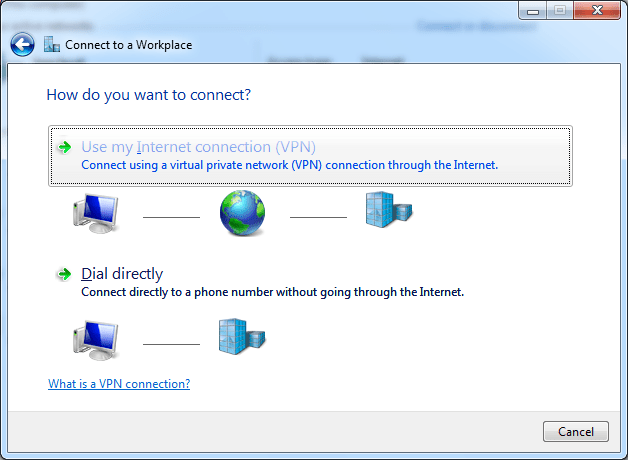
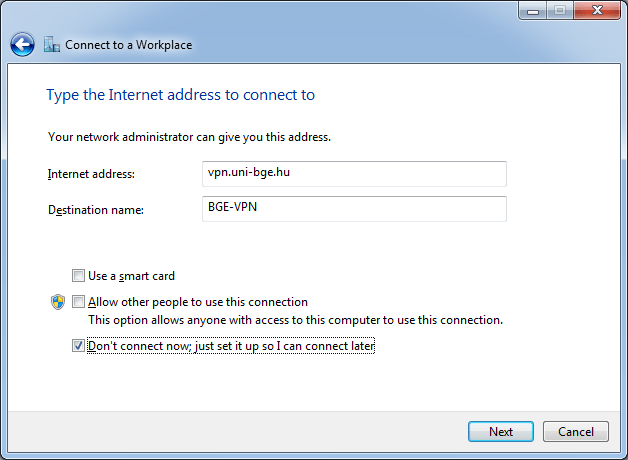
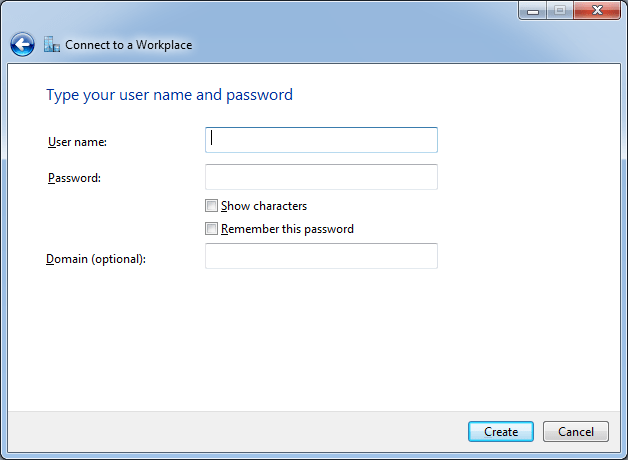
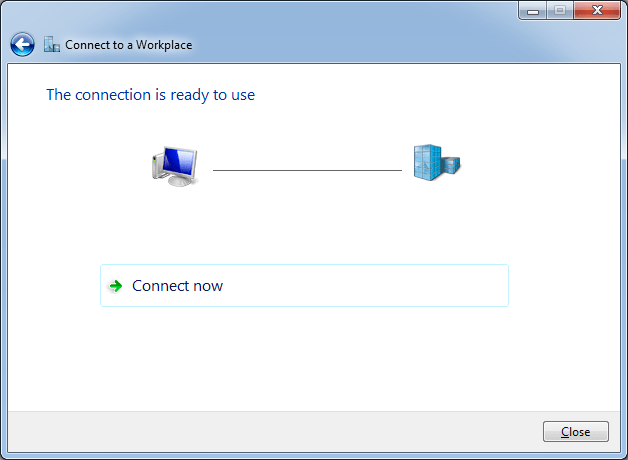
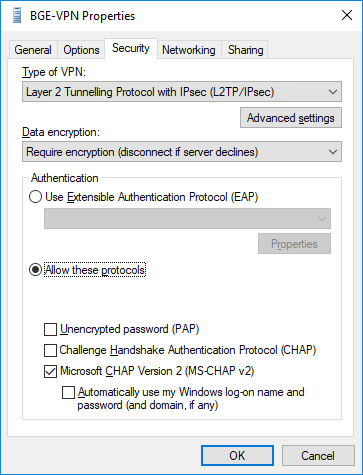
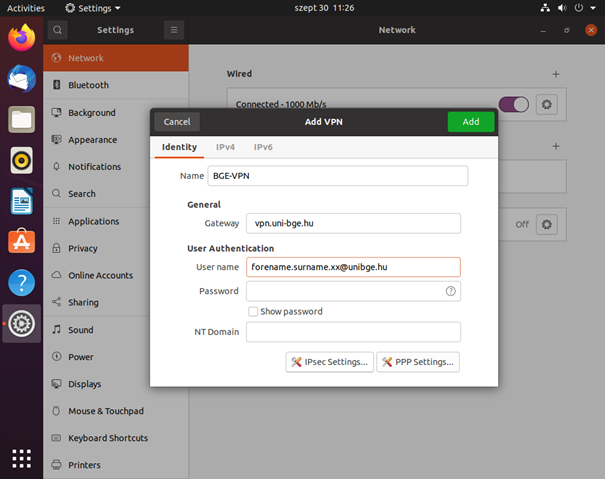
Follow the settings on the pictures below. You will have to provide your login data as follows:
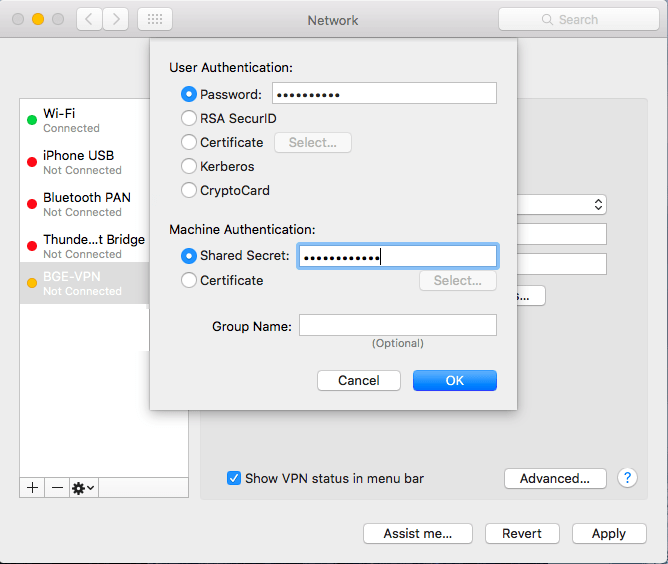
If you have university e-mail address (M365 user account registered at Budapest University of Economics and Business), enter it as a username. eg: surname.forename.number@unibge.hu.
We would like to draw your attention, that University does not accept M365 user account registered by other way( not ending with unibge.hu)(eg: surname.forename.number@yourschool.hu)!
If you have not registered (you do not have university e-mail address), then use the following form: neptunID@unibge.hu mail address
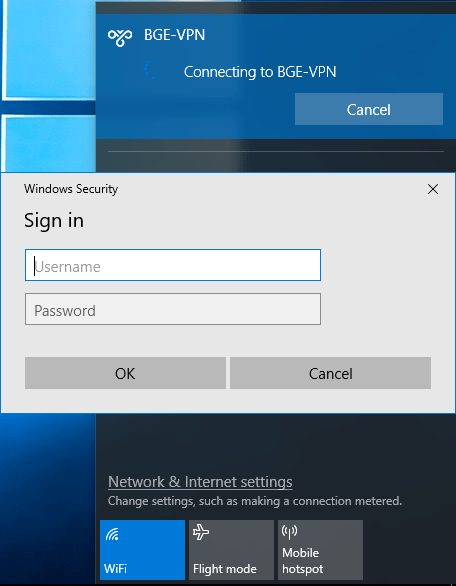
Password: The password you use in Neptun.
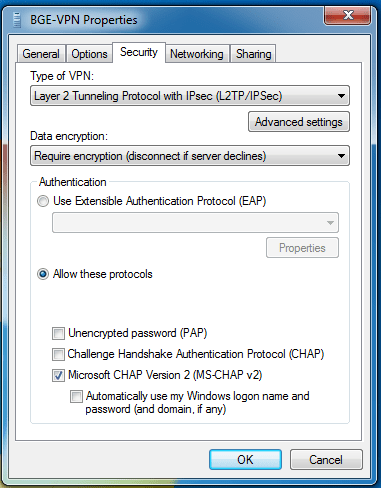
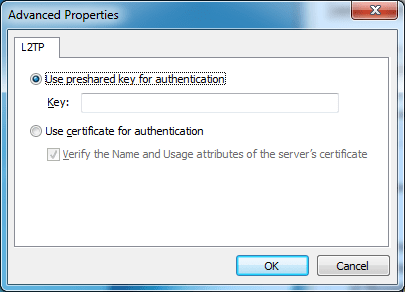
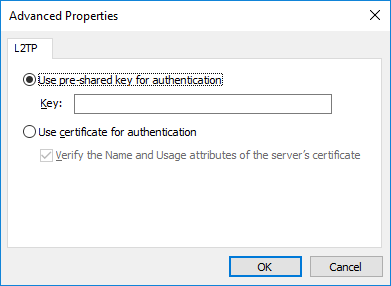
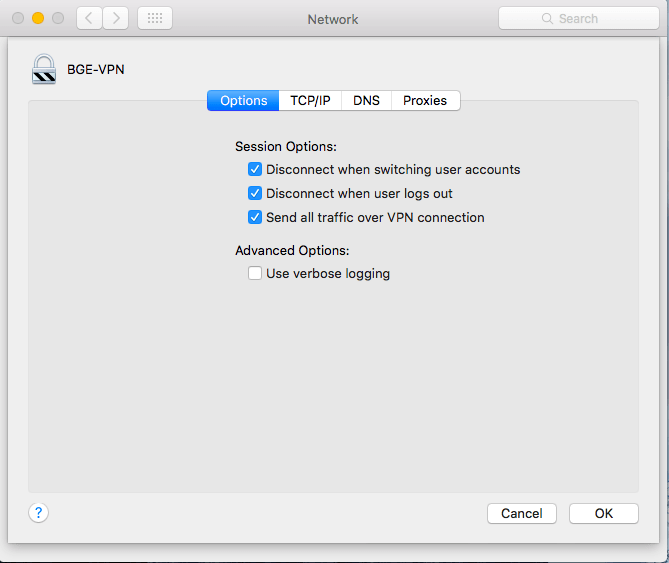
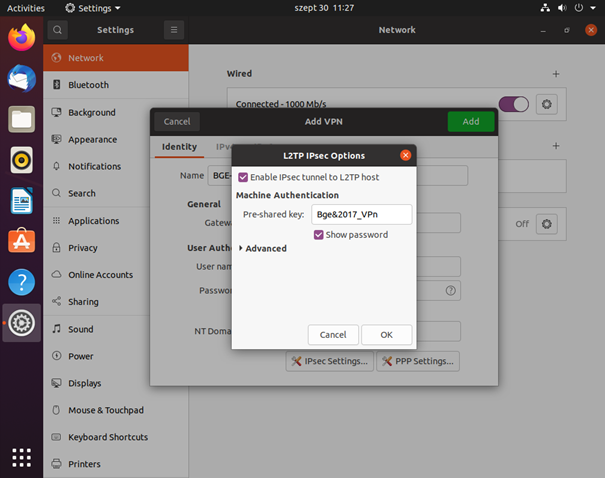
On the bottom right side of the window click the button „IPsec Settings…” and in the pop-up window click on the checkbox „Enable IPsec tunnel to L2TP host”, then set the following as the Pre-shared key: Bge&2017_VPn
Then press the OK button.
Then left click on the „PPP Settings…” button in the lower right corner of the window, and in the pop-up window, take out the ticks from the authentication method checkboxes as shown below.
Then press the OK button.

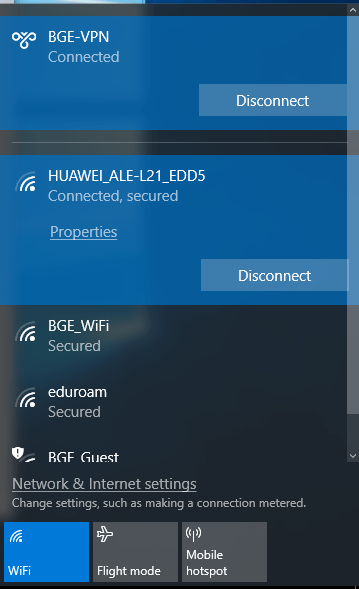
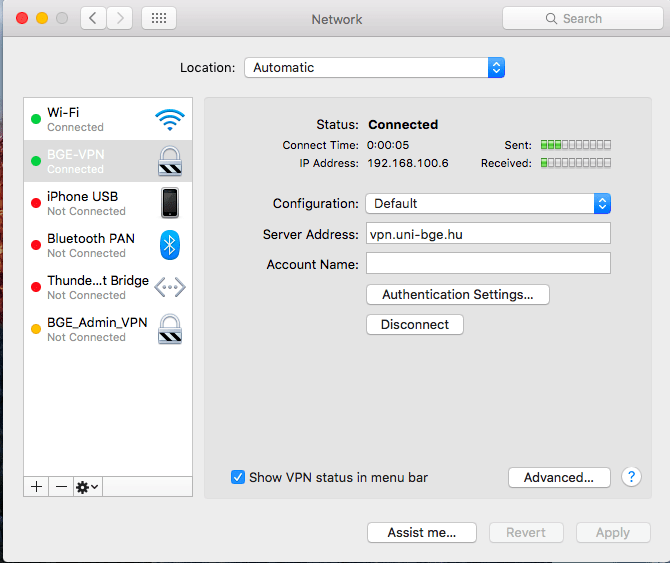
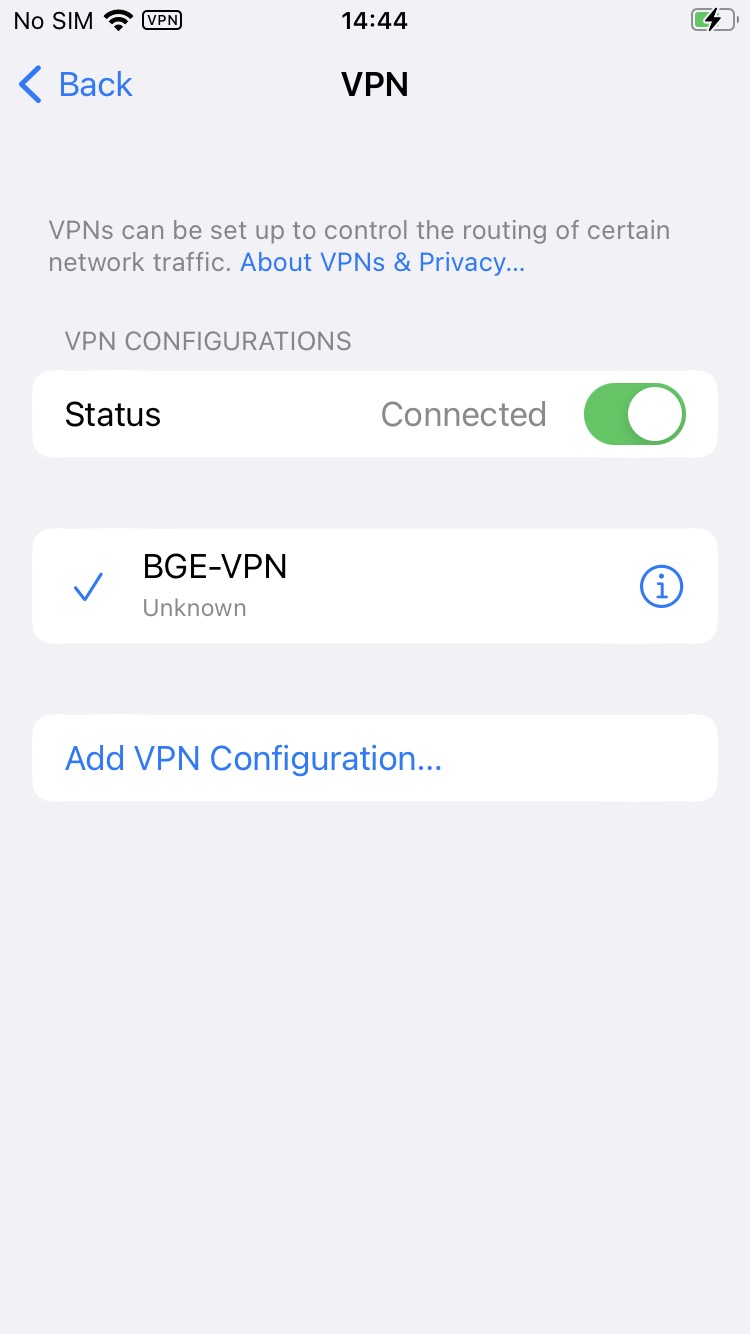
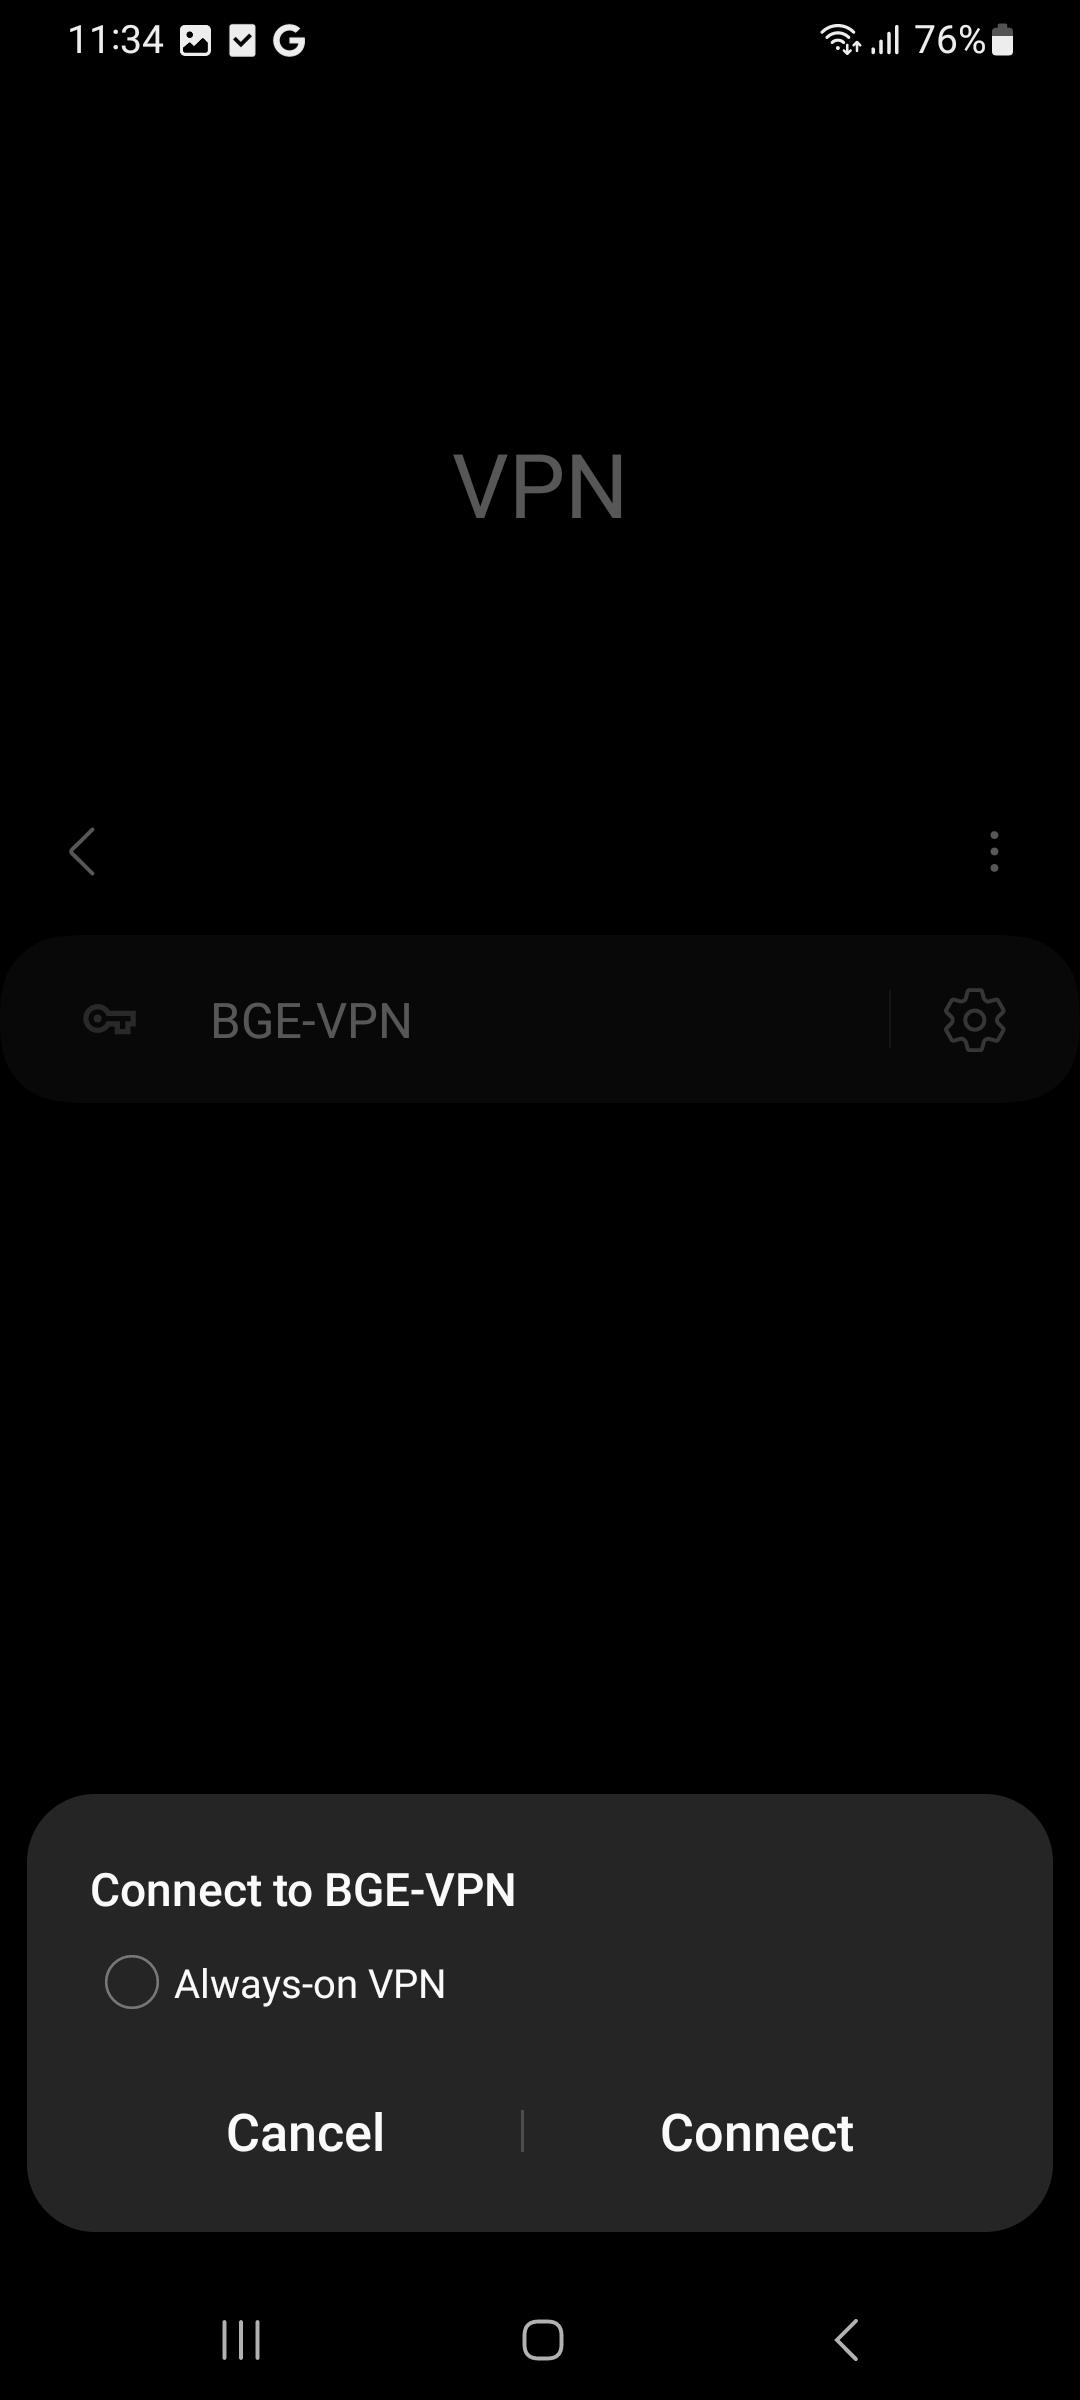
Click the green "Add" button in the upper right corner of the window to save the VPN connection settings. After that, the VPN you created will appear under the VPN section.
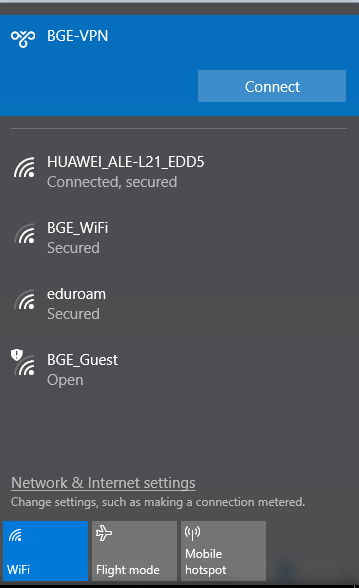
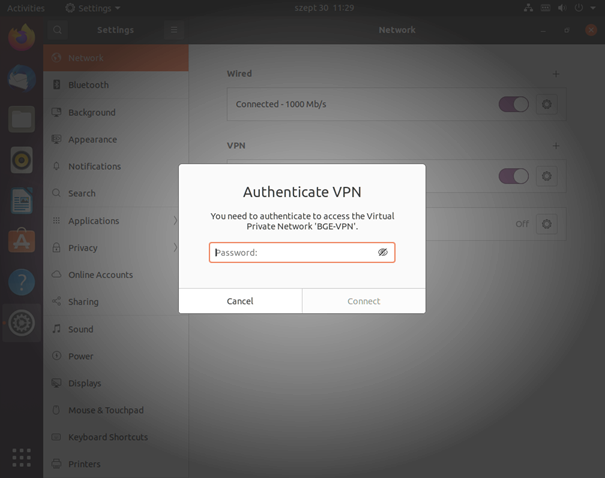
You can connect to the newly created VPN connection by clicking on the slider to the left of the gear icon, then you will be asked for your university account's password.
The success of the connection is proved on the one hand by the fact that the slider has become colorful and by the fact that in the terminal if you run the following command:
ip addr
a new PPP adapter with an IP address of 192.168.100.x will appear:

When you have finished your work, disconnect from the VPN. You can do this also by clicking on the slider: